How to Make a Machine Learning and Computer Vision Based Sudoku Solving Robot Using a Raspberry Pi
By Arijit Das View In Digital Edition
Solving a Sudoku is not a very easy task for everyone. It may take a few hours for a beginner to solve a simple Sudoku puzzle. Computers have a faster brain than humans, so if we can teach them to solve a Sudoku, then they’ll be able to solve it much faster than a human. That’s why we built a robot which can solve Sudokus of any difficulty level within just a few seconds simply by looking at it (like a human). Here, we’ll discuss how you can make such a robot for yourself.
Rules of Sudoku
Before we make our own robot to solve Sudoku, let’s recap the rules. Sudoku is played on a grid of 9x9 spaces. Within the rows and columns are nine “squares” (made up of 3x3 spaces). Each row, column, and square (nine spaces each) needs to be filled out with the numbers 1-9, without repeating any numbers within the row, column, or square.
Figure 1 shows a solved Sudoku puzzle. As you can see, numbers 1-9 are not repeated within any row, column, or square.
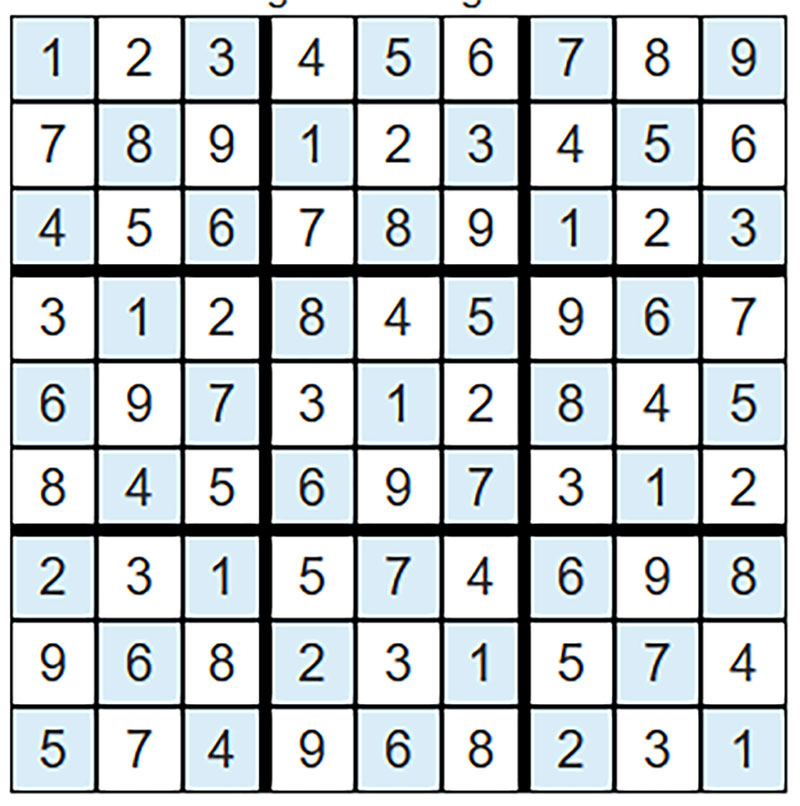
FIGURE 1. An example of a solved Sudoku.
Problem Statement
Before solving any problem, we have to understand the problem statement and its input-output. In this case, our input will be an image of a Sudoku puzzle printed on any white paper which will be captured by our robot. It can be an image of a newspaper which consists of a Sudoku puzzle. For example, take a look at Figure 2.
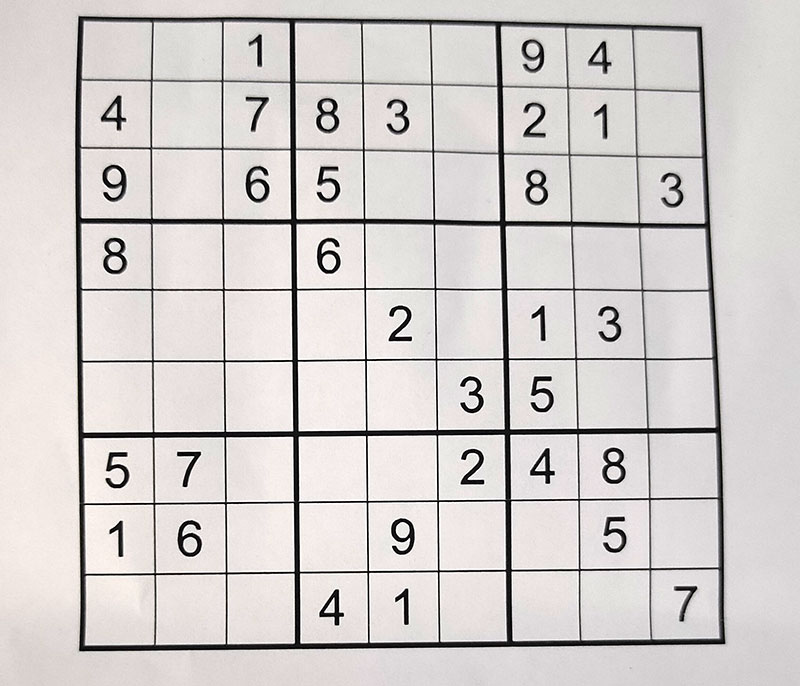
FIGURE 2. An example of an unsolved Sudoku printed on a paper.
The output will be the solved puzzle which will be shown in the screen of our robot.
Required Components
The first step is to design the hardware for the robot. We need a powerful brain, so we selected a Raspberry Pi 3B+ with 1 GB RAM and a 1.2 GHz 64-bit quad core ARM Cortex-A53 processor. Even a Raspberry Pi Zero with 512 GB of RAM and a 1 GHz ARM1176JZF-S single core processor will work.
Our robot must have “eyes” so it can see the Sudoku. For this, we can use the Raspberry Pi 5 MP camera module. After solving the Sudoku, it also needs to show us the solved puzzle. A 3.5 inch screen can be used for this purpose.
The robot should have talking capabilities, so that it can dictate us the step-by-step process. A small speaker can be used for that.
We need to put all these components inside a body. We used a broken toy for this purpose, but a 3D printed robot would be better. Finally, few more components will be needed to complete the robot. Here’s a complete list of what we used:
- Raspberry Pi 3 B+
- Raspberry Pi Camera Module V2
- Raspberry Pi Touch Screen Module
- Speaker (small in size)
- LED Lights
- Power Supply (two amp)
- Memory Card (minimum Class 10/16 GB is recommended)
- IR Sensor
- A Body for the Robot
Connecting the Components with a Suitable Body
Like I’ve already mentioned, we used one of my old broken toys as the body for our robot. We just need to connect the body with the required components.
At first, we attached the touch screen module with the body of the robot (Figure 3). It will also work as the face.
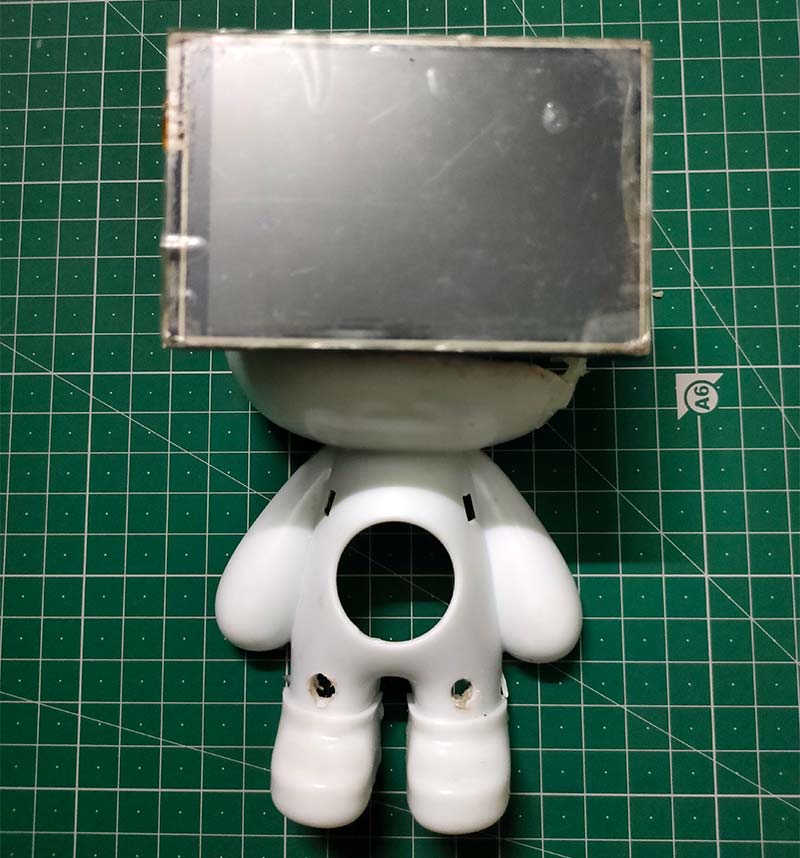
FIGURE 3. Connecting a screen with the body.
Next, we attached the Raspberry Pi camera module (Figure 4). We positioned the camera at the center of the robot, so that whenever we hold a Sudoku in front of it, it will be able to capture the image easily.
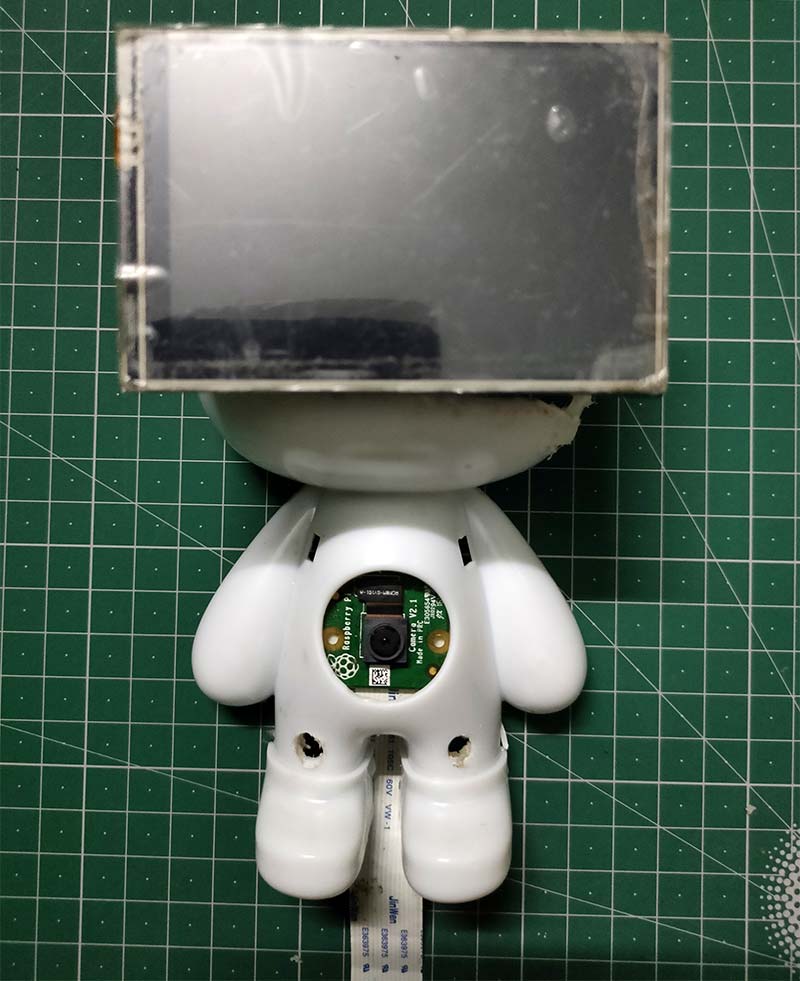
FIGURE 4. Connecting a camera module with the body.
We then connected the jumper wires with the screen, so that we can connect the screen with the Raspberry Pi (Figure 5).
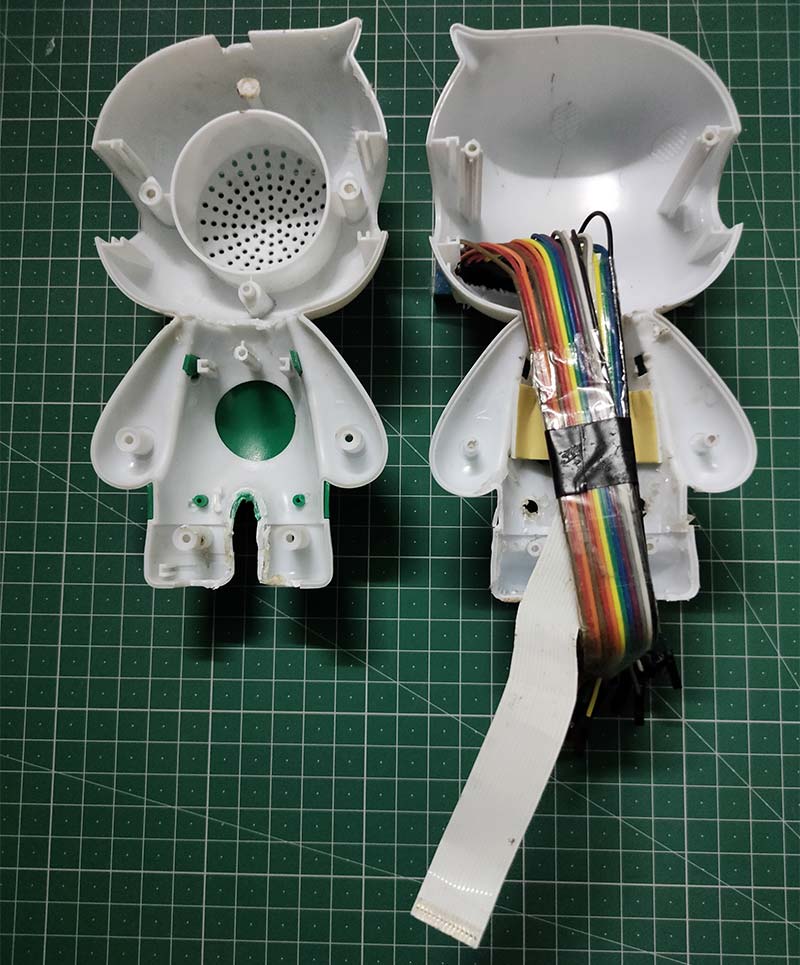
FIGURE 5. Connecting jumper wires with the screen module.
Next, we attached the back side of the body (Figure 6).
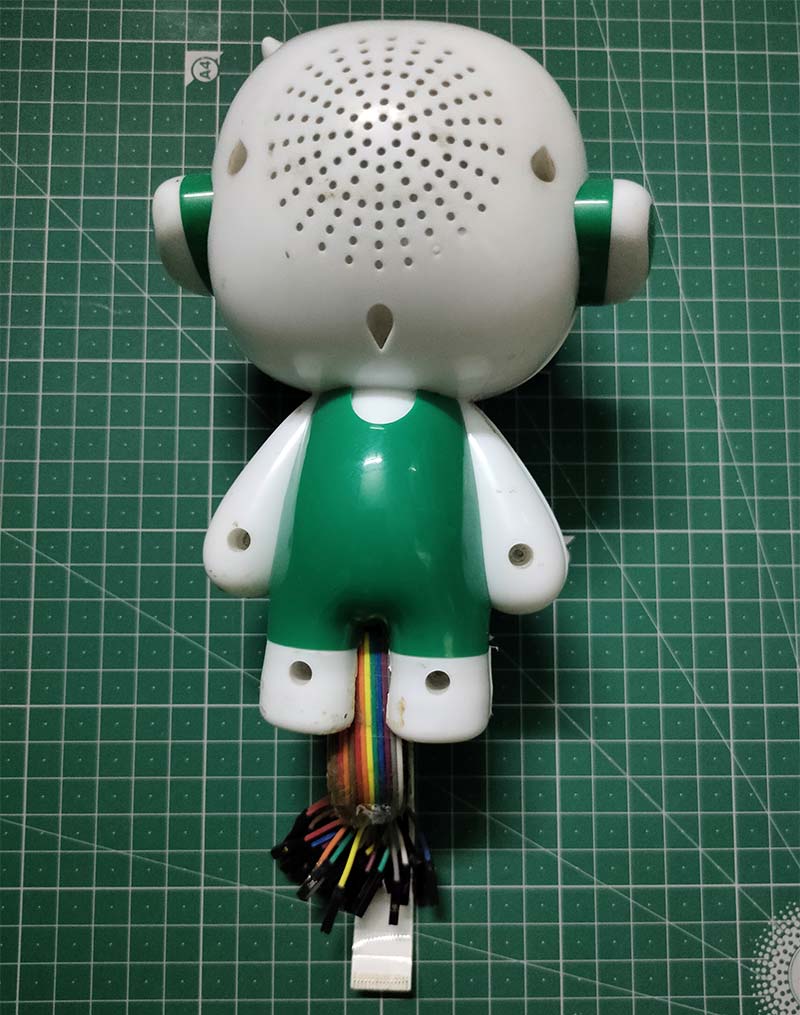
FIGURE 6. Connecting the back side of the body with the front side.
Now we connect the Raspberry Pi with the screen and camera. Also, we attached an IR sensor with the RaspPi for motion control as shown in Figure 7 (whenever we hover our hand over the robot, it will give an intro).
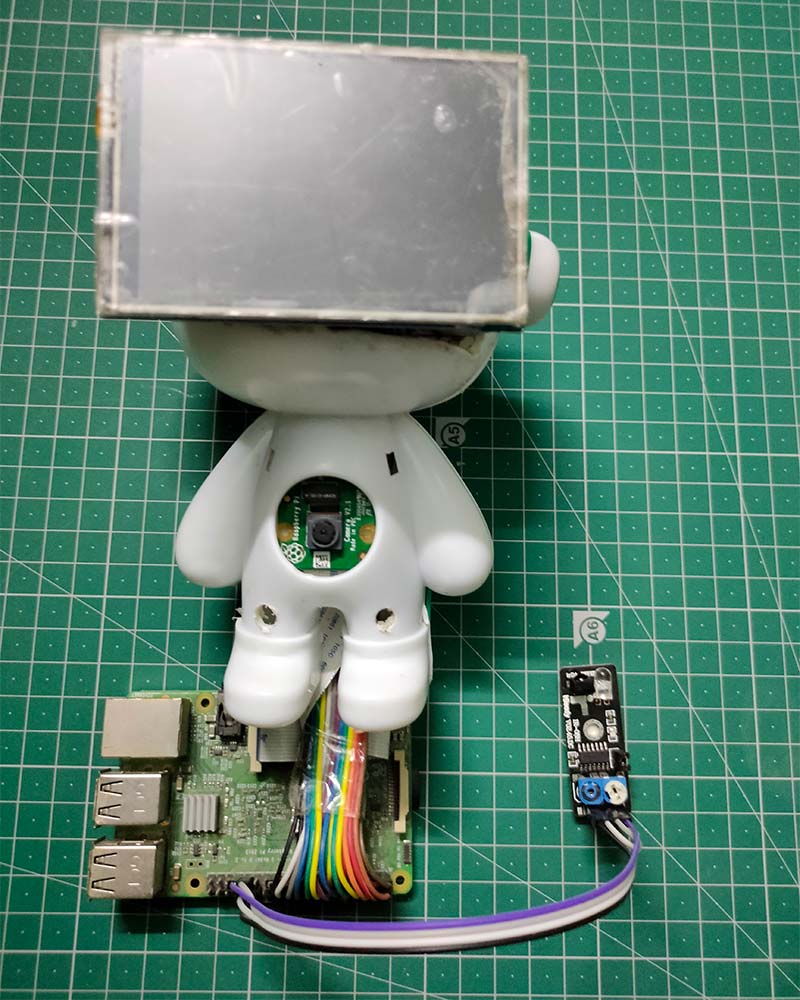
FIGURE 7. Connecting the Raspberry Pi and IR sensor.
Finally, we put all the components which were outside of the body inside a box, which will be used to stand the robot on. Also, we have attached two LEDs on the base, so that it can capture clear images in dark lighting conditions. Figure 8 shows the completed robot.
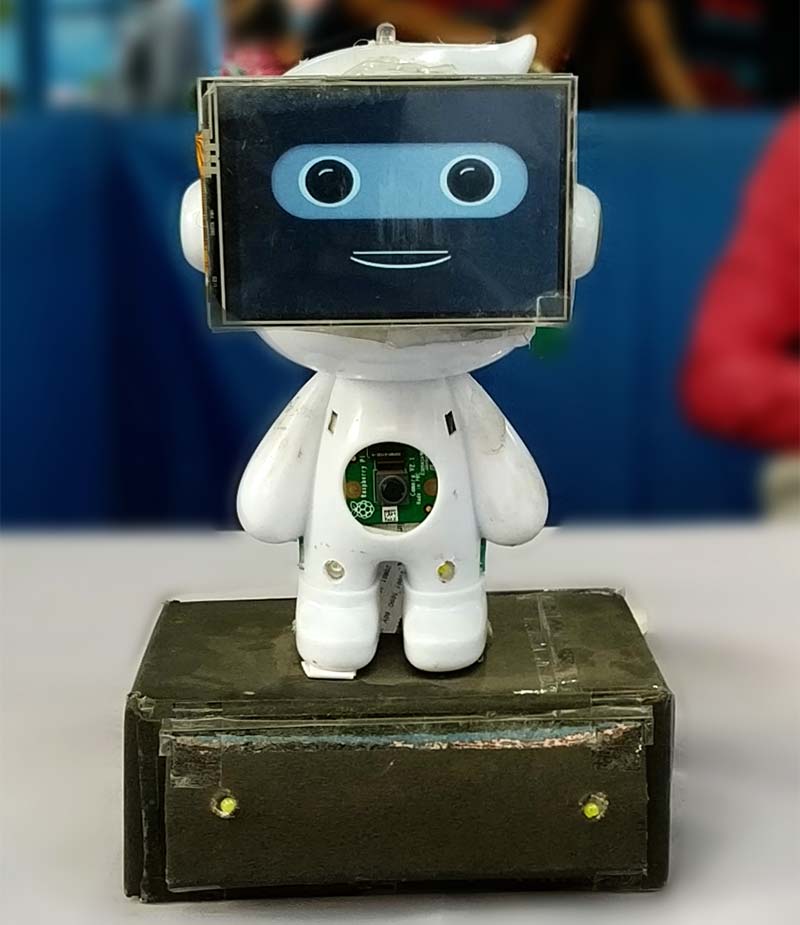
FIGURE 8. Final robot after connecting everything.
Prerequisites Before Programming the Raspberry Pi
Before we program the RaspPi, we need to install the operating system into it. We’ll need to install the latest Raspbian OS inside a memory card (Class 10/16 GB) and then we need to insert the memory card in the Raspberry Pi. This way, we can get into the device by connecting it with a display using HDMI or by a simple SSH connection.
Before doing anything else, we need to install the required drivers for the RaspPi screen (details will be available in the “Display” manual). Also, we need to set up the Wi-Fi and enable the camera module.
You can enable the camera by using the command “sudo raspi-config,” then from the menu select “Interfacing Options.” From there, enable the camera and reboot the Raspberry Pi. After that, you’re ready to write the Python codes in the device as Python comes by default with the Raspbian OS.
Programming for Solving the Sudoku
We need to teach our robot to solve a Sudoku puzzle. So, we’ll need some kind of algorithm to solve Sudoku puzzles. Here, we’ll use backtracking as it’s very efficient for this kind of application.
A simple backtracking algorithm to solve a Sudoku looks like this:
Find row, col of an unassigned cell
If there is none, return true
For digits from 1 to 9
a) If there is no conflict for digit at row, col
assign digit to row, col and recursively try fill in rest of grid
b) If recursion successful, return true
c) Else, remove digit and try another
If all digits have been tried and nothing worked, return false
source: Geeksforgeeks
One can easily implement this algorithm in any programming language. We used Python 2.7 and named it as “Sudoku_solver.py.” This code is a reimplementation based on the code Solving Every Sudoku Puzzle written by Peter Norvig (Director of Research at Google).
Let’s see how to use this code. If we have a puzzle that looks like the one in Figure 9, we have to write the digits row from left to right in sequence.
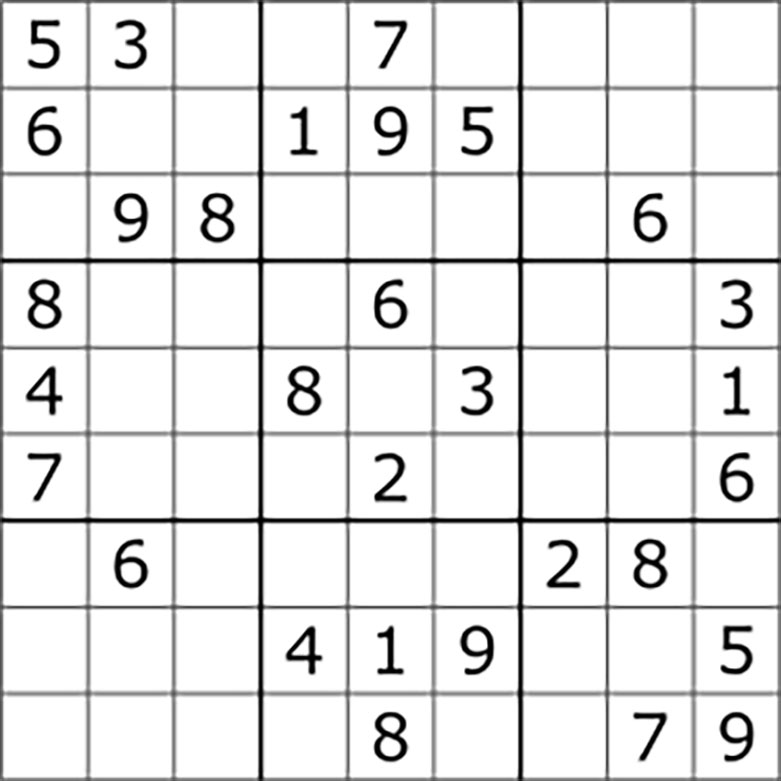
FIGURE 9. An unsolved Sudoku for an experiment.
For blanks, we have to write ‘0’ in the sequence. So, in this case, the sequence will be:
sequence = “530070000600195000098000060800060003400803001700020006060000280000419005000080079”
We can use this sequence in the main method of our Python code (Sudoku_solver.py) in this way:
def main():
sequence = “530070000600195000098000060800060003400803001700020006060000280000419005000080079”
s=solver(sequence)
s.display(s.solve())
if __name__ == ‘__main__’: main()
After this, if we execute the program, the output will be:
5 3 4 |6 7 8 |9 1 2
6 7 2 |1 9 5 |3 4 8
1 9 8 |3 4 2 |5 6 7
------+------+------
8 5 9 |7 6 1 |4 2 3
4 2 6 |8 5 3 |7 9 1
7 1 3 |9 2 4 |8 5 6
------+------+------
9 6 1 |5 3 7 |2 8 4
2 8 7 |4 1 9 |6 3 5
3 4 5 |2 8 6 |1 7 9
As you can see, our robot has solved the Sudoku perfectly.
Programming for Recognizing the Sudoku
So, our robot knows how to solve a Sudoku puzzle, but it needs the puzzle as the input to solve it. So, it needs to scan an image of a puzzle and get the input from that. So, we need the help of image processing and machine learning.
We’ll process the captured image and recognize digits from it in a particular sequence. Then, we pass the sequence to the previous Sudoku solving program and get the final output. We can show the final output on the screen of our Sudoku solving robot. Figure 10 shows the flowchart of the whole process.
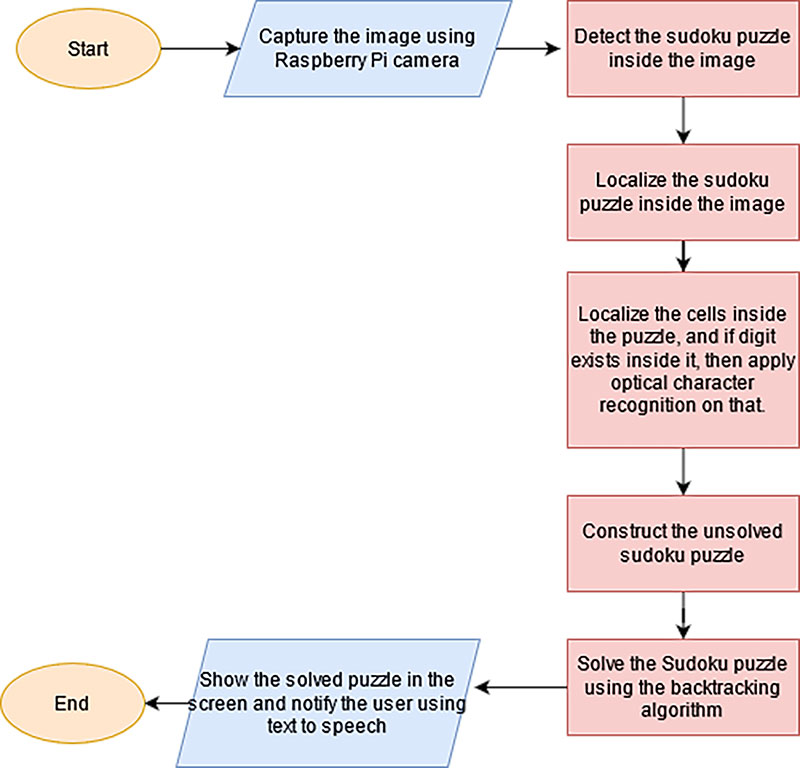
FIGURE 10. Flowchart of the whole process.
Before writing any code, we need to install a few Python libraries and tools:
- OpenCV2 (for all the image processing-based tasks; https://opencv.org).
- eSpeak (a tool used for text-to-speech conversion; http://espeak.sourceforge.net/commands.html).
After installing these libraries, we can write the code in the Raspberry Pi. You can find a very basic tutorial on image processing for Sudoku recognition at http://opencvpython.blogspot.com/search?q=Sudoku+solver. A special thanks to Mike Deffenbaugh, who has improved that previous code and got it to work pretty well. You can find his website at www.mikedeff.in. I’ve modified that code so that it can work with a Raspberry Pi.
At first, this code will capture the image from the RaspPi camera, then it will detect the Sudoku puzzle using image processing. It will then recognize the digits in the Sudoku puzzle using machine learning.
Again, this code is written in Python 2.7 and named as “main.py.” This code will automatically pass the recognized Sudoku to the previous code, get the final solution, and then show that on the screen. Also, it will dictate all the steps while processing the Sudoku.
To run this file, you need some trained files to recognize the digits in the Sudoku. All these files are trained using machine learning and named as “generalresponses.data” and “generalsamples.data.” You can read Mike Deffenbaugh’s blog at www.mikedeff.in/sudoku.htm to know more about the training.
So, at the end, you should have the following files in the same folder:
- generalresponses.data
- generalsamples.data
- Sudoku_solve.py
- main.py
Then, you can simply run the main.py file and it will do everything for you. Finally, for the face animation part, you can design an animated face using the Pygame library in Python.
Showcasing Our Sudoku Solver
We named our robot SUDO and showcased it at the Kolkata Mini Makers Faire back in 2019 in Eastern India. We received a lot of appreciation from the audience (Figures 11-14).
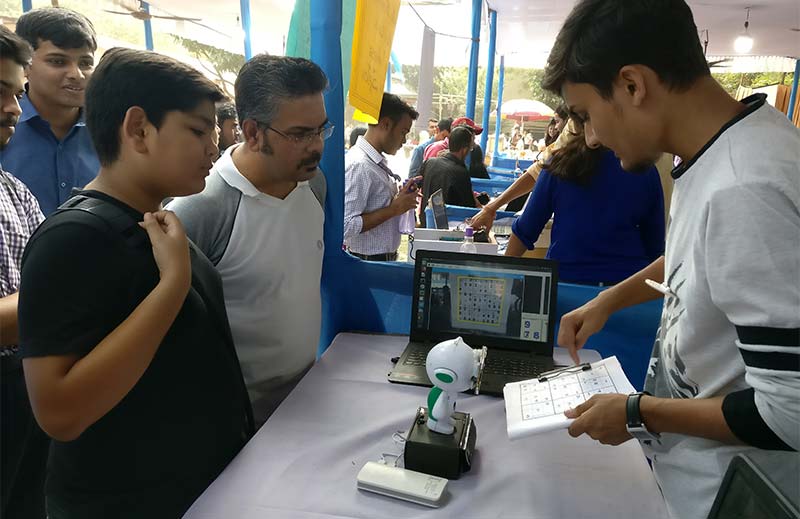
FIGURE 11. Showcasing SUDO to a few visitors.
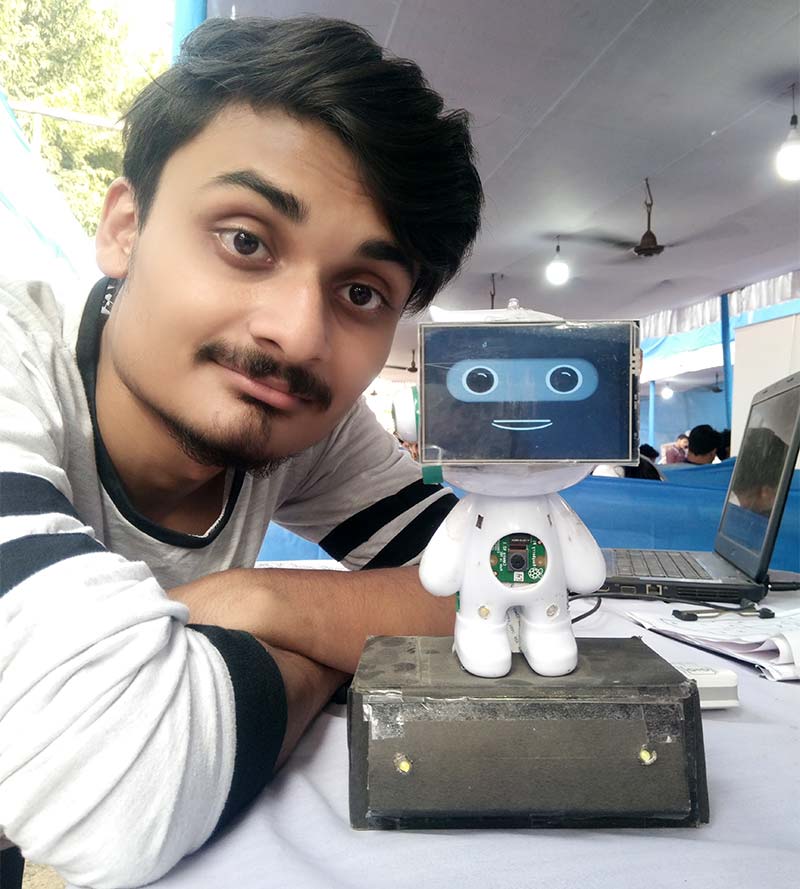
FIGURE 12. Me with SUDO.
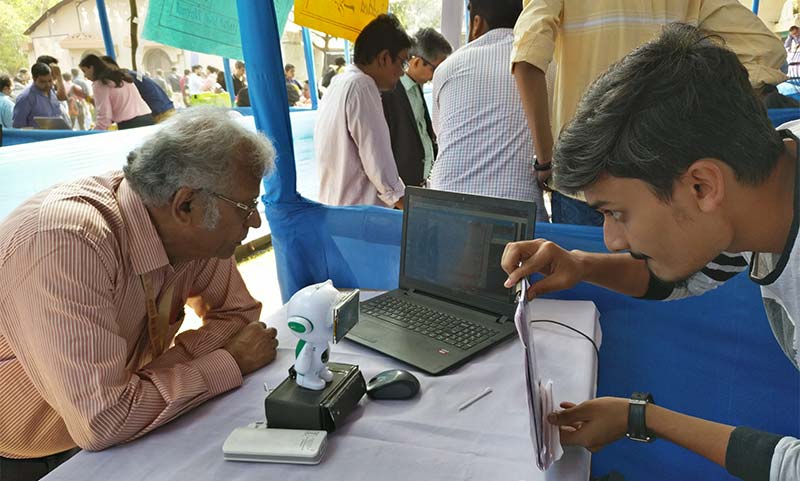
FIGURE 13. SUDO solving a Sudoku puzzle.
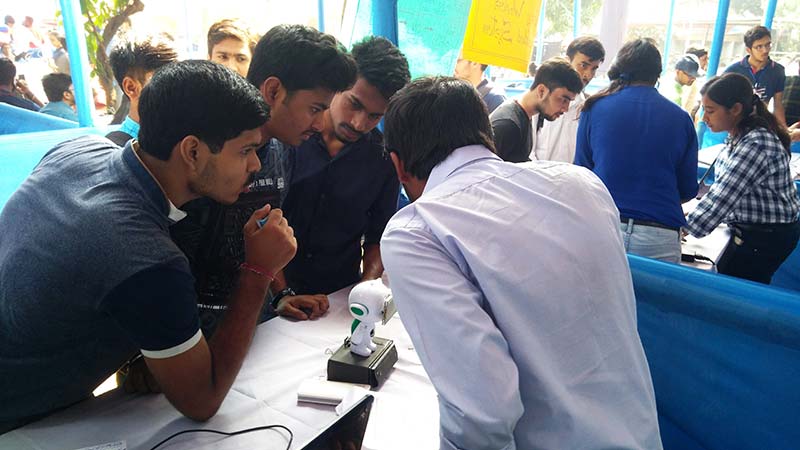
FIGURE 14. Showcasing SUDO to a few young visitors.
There’s just something about game-solving robots that people love. SV
You can find the demo video of our robot at https://youtu.be/sW_Nb6YLvdg.
Resources
You can find the demo video of this project at
https://youtu.be/sW_Nb6YLvdg
You can find my YouTube channel at
https://www.youtube.com/c/SPARKLERSWeAreTheMakers
For more information on Raspberry Pi OS installation, visit
https://www.raspberrypi.org/documentation/installation/installing-images
For more information on the Sudoku solving algorithm, visit
https://www.geeksforgeeks.org/sudoku-backtracking-7
For an explanation of the Sudoku solving code, visit
https://towardsdatascience.com/peter-norvigs-sudoku-solver-25779bb349ce
For a basic tutorial on image processing for Sudoku recognition, visit http://opencvpython.blogspot.com/2012/06/sudoku-solver-part-1.html
For an advanced version of the Sudoku recognition code, visit www.mikedeff.in/sudoku.htm
Article Comments