Roll Your Own Turtlebot
What if you could easily build the equivalent of a Turtlebot on the cheap?
I’m going to show you how simple it is to convert a Neato robotic vacuum cleaner into a fully functional training platform in less than a day. Very little hardware skill or special tools are needed. Everything is available COTS (commercial off-the-shelf), and the software is all open source. Let’s get started!
Here’s what you need to get, if you don’t already have them:
- A laptop or Wi-Fi connected desktop running Unbuntu. This should be at least 14.04 and running ROS Indigo, but it would be better to upgrade to the same versions if running cross platform. ROS versions are usually matched to Ubuntu releases.
- A Neato Botvac or equivalent.
- A Raspberry Pi 3 (camera is optional but highly recommended).
- 6 gig SD card for Pi.
- Rechargeable 5V power pack (the kind for recharging cell phones is fine).
- USB cables for battery pack to Pi (micro) and Pi to Botvac (can be mini or micro, depending).
- Small scraps of aluminum or tin from a can.
- Small scraps of flat plywood or acrylic.
- Velcro™, double-sided tape, or other easy-to-remove adhesives.
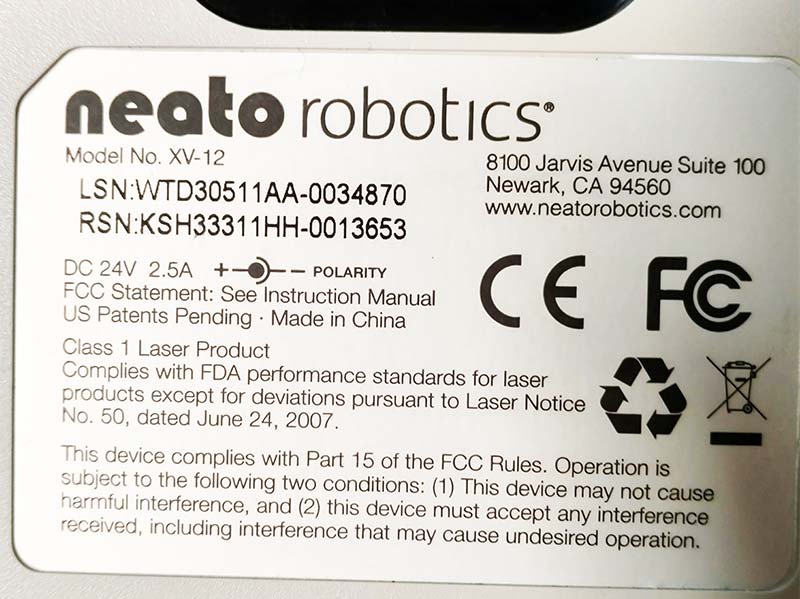
XV-12 name plate.
Step 1: Modifying the Botvac.
Depending on your model, you may choose to ignore any hardware modifications entirely. Then, if you mess up, you can just use it to clean your house!
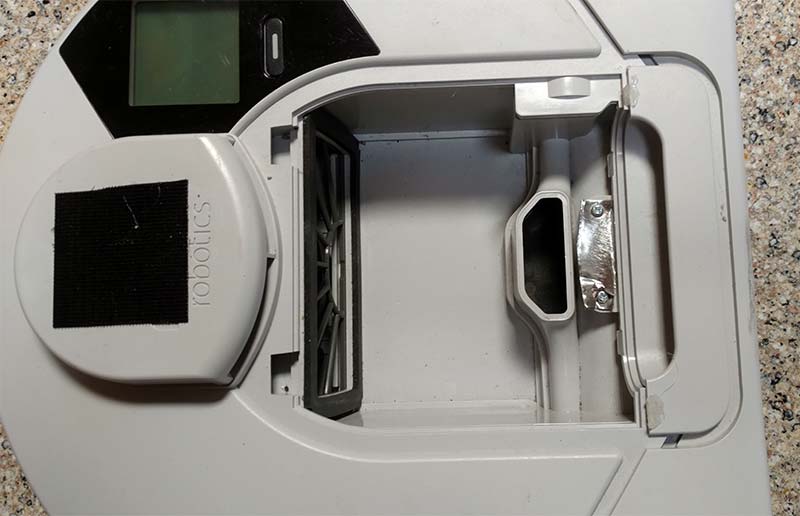
I removed the brushes, the dust bin, and used a strip of metal to disable the bin detector switch.
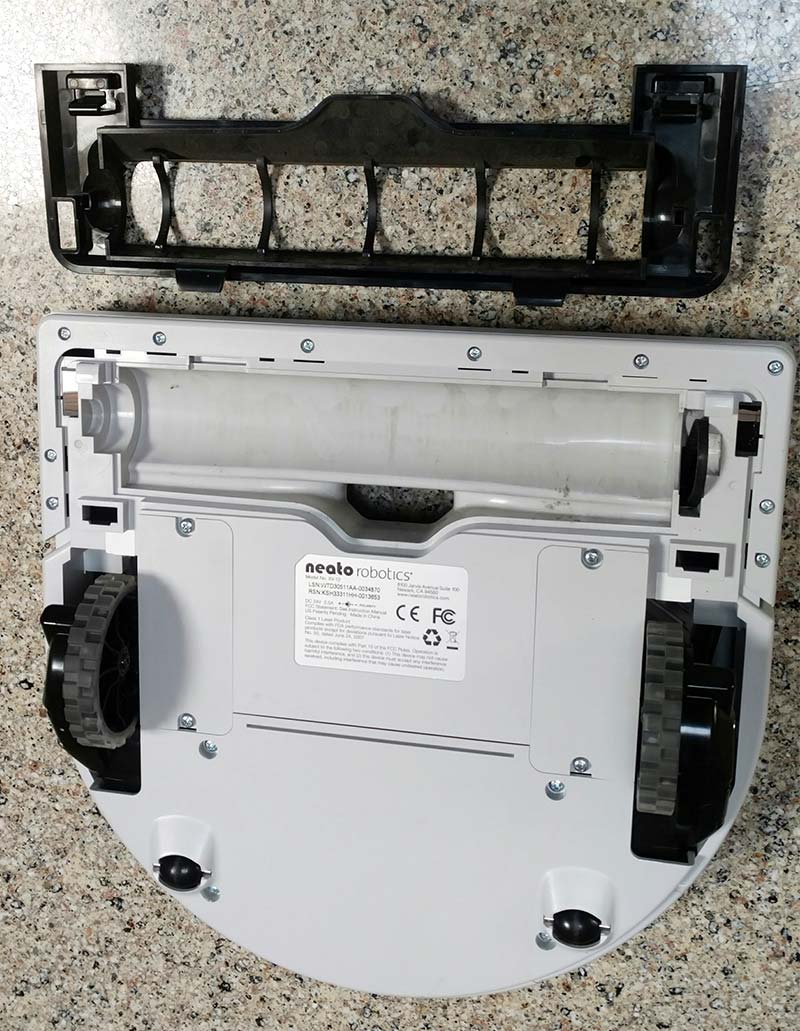
XV-12 brush removed.
XV-12 dustbin removed.
Step 2: Preparing the Pi and attaching to the Botvac.
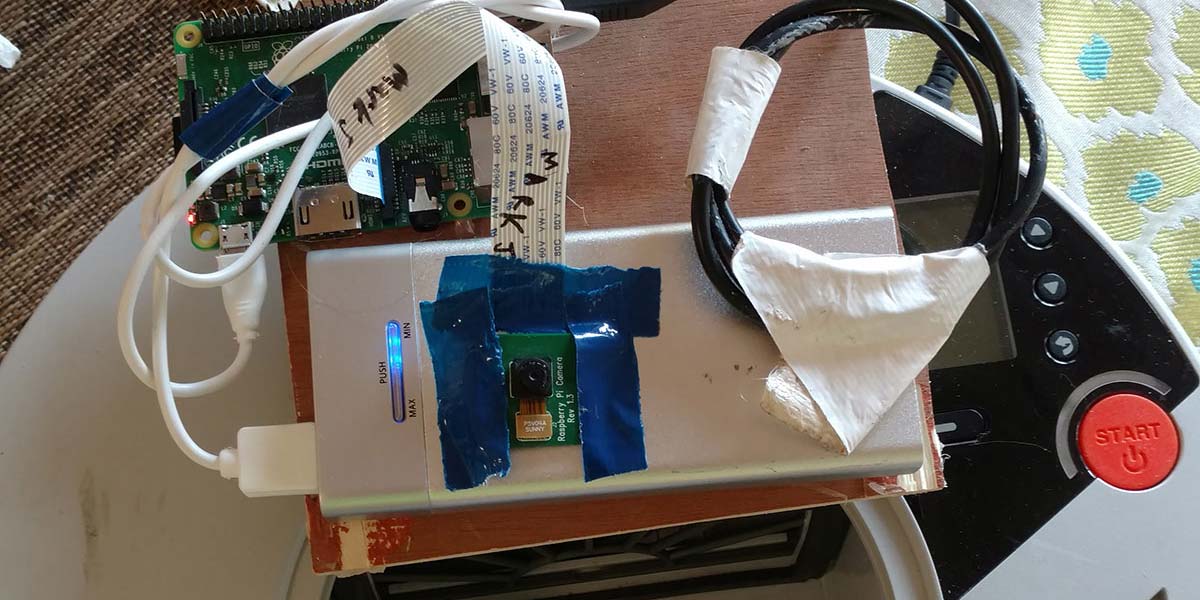
Artfully arrange the Pi, battery pack, and optional camera on a 6” by 6” flat piece of wood or plastic. Attach with double-sided tape. On the bottom of the assembly, attach a piece of Velcro or similar quick release fastener.
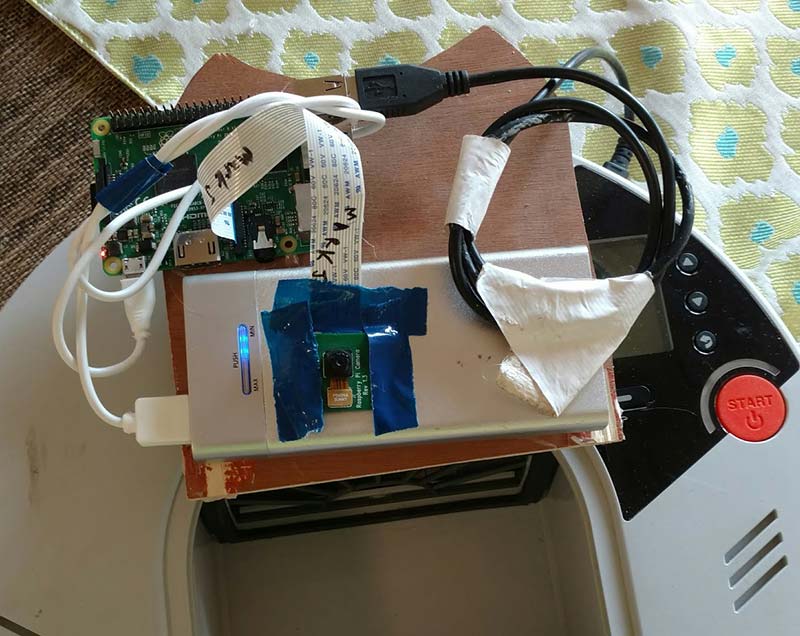
Raspberry Pi 3 mounted.
Attach the matching Velcro to the top of the Botvac’s LIDAR unit. Lastly, plug in the USB cables.
You might want to charge your batteries. It would be a shame to have all the software loaded and then have to wait to test it.
Step 3: Loading the software onto the Pi.
I used the Ubuntu Mate (pronounced “ma tay”) version. Instructions for loading Mate are available at https://ubuntu-mate.org/download. Follow the instructions for 16.04 — Raspberry Pi 2/3.
You can use an HDMI TV and attached keyboard to initially set up the Pi, using the graphical environment. It also helps to have a direct Ethernet connection when doing the initial setup because you need to load a lot of software initially. Using a desktop, it’s pretty easy to get Wi-Fi working.
I suggest creating an 8 gig image on a 16 gig SD card. After the initial software is on and you can bring up a graphical desktop, follow the intro screen and click on Raspberry Pi info — it will enable you to expand the image to 16 gig. It also will allow you to configure your Wi-Fi.
I suggest you still use the Ethernet connection, but at this point you can open a terminal, type sudo graphical disable, and then use SSH over Wi-Fi to complete the installation.
Once Ubuntu is working, continue loading ROS onto the PI. You may have to maintain your Ubuntu distributions; the following commands are useful:
sudo apt-get update
sudo apt-get upgrade (must run both in sequence)
Sometimes to clear dpkg errors:
sudo dpkg –configure -a
)
Summary
sudo sh -c ‘echo “deb [url=http://packages.ros.org/]http://packages.ros.org/[/url] ros/ubuntu $(lsb_release -sc) main” > /etc/apt/sources.list.d/ros-latest.list’
sudo apt-key adv —keyserver hkp://ha.pool.sks-keyservers.net:80 —recv-key 0xB01FA116
sudo apt-get update
sudo apt-get install ros-kinetic-desktop-full
(if full is not available, just get ros-kinetic-desktop)
sudo rosdep init
rosdep update
echo “source /opt/ros/kinetic/setup.bash” >> ~/.bashrc
source ~/.bashrc
sudo apt-get install python-rosinstall
ROS Catkin Workspace installation
mkdir ~p ~/catkin_ws/src
cd ~/catkin_ws/src
catkin_init_workspace
cd ..
catkin_make
Next, edit .bashrc to change the source /opt/ros/kinetic/setup.bash to ~/catkin_ws/devel/ setup.bash. It also helps to add the following line if the Pi is hosting the robot:
export ROS_MASTER_URI=http://$HOSTNAME.local:11311
where “$HOSTNAME” is the name you have in the /etc/hostname file.
Your /etc/hosts file should look like this:
127.0.0.1 localhost
127.0.1.1 “your hostname”
# The following lines are desirable for IPv6 capable hosts
::1 ip6-localhost ip6-loopback
fe00::0 ip6-localnet
ff00::0 ip6-mcastprefix
ff02::1 ip6-allnodes
ff02::2 ip6-allrouters
This will support ROS networking.
You also may wish to install “chrony” to synchronize the time different ‘nodes’ are running at. This is because the Pi doesn’t have a real time clock, and if your Wi-Fi is not connected to the Internet, the Pi will have the wrong time.
Next, I suggest you load the following ROS packages into your catkin_ws/src workspace: ROS by Example Part 1 (RBX1) from Patrick Goebel; https://github.com/pirobot/rbx1 (this should go on both your laptop and the Pi); and the SV-ROS Botvac nodes (courtesy of mostly Mr. Ralph Gnauck) at https://github.com/SV-ROS/intro_to_ros.
Follow the instructions in the README files to install and test. For example:
cd ~/catkin_ws/src
git clone [url=https://github.com/SV-ROS/intro_to_ros]https://github.com/SV-ROS/intro_to_ros[/url]
(this also should go on both)
cd ..
catkin_make
Testing
On the laptop, type:
roscd teleop
If nothing is found, type:
sudo apt-get install ros-kinetic-teleop-twist-keyboard
On the Botvac, turn on the Pi, and sign on via a terminal window from the laptop.
I like to launch a custom base only node on the Pi:
roslaunch bv80bot_node bv80bot_njoy.launch (refer to the code listings)
You should hear the Neato LIDAR unit start to spin.
On the laptop, open up another terminal window and set up the ROS_IP and ROS_MASTER_URI environment variables via the ‘export’ command.
Test to see if you are getting topics (rostopic list) and scans (rostopic echo /scan).
Finally, launch teleop:
rosrun teleop_twist_keyboard teleop_twist_keyboard.py
You should now be able to drive your robot.
If you open RVIZ in another window, you should see the LIDAR returns.
What Next?
With just this simple robot, you can begin to learn how to accomplish advanced robotics tasks and begin to learn the subtleties of autonomous navigation. Because of the Neato’s XV-11 LIDAR unit, you can simultaneously accomplish localization and obstacle avoidance.
Support for webcams and the Raspberry Pi camera are available through ROS nodes. I have gotten teleop via a Bluetooth joystick to work through the laptop, but not directly on the Pi.
Please note that though the Pi has four USB slots, there is seldom enough power to run more than the Botvac interface and a Wi-Fi dongle. A typical USB webcam will draw too much current and crash the Pi.
With a Wi-Fi connected phone and some ingenuity, you should be able to issue voice commands. This way, you can call up your home robot from the office and ask it to find the cat.
The Botvac is a little underpowered for bringing you a snack from the kitchen, but when the next more powerful platform is available, you’ll know just how to program it. SV
Listing 1.
/catkin_ws/src/intro_to_ros/bv80bot/bv80bot_node/launch/include/bv80bot_njoy.launch
<launch>
<!-- Change this to use a different joystick controller -->
<!-- Set the default value for the 'teleop_controler' arg below to one of the folowing values to select the controler you are using to teleop the robot:
no joystick launch from pi, joystick or keyboard on remote
ps3
xbox360
keyboard
logitech
<arg name="teleop_controler" default="xbox360" />
-->
<arg name="input_cmd_vel_topic" default="/raw_cmd_vel" />
<arg name="feedback_cmd_vel_topic" default="robot_cmd_vel" />
<arg name="output_cmd_vel_topic" default="smoothed_cmd_vel" />
<!-- smooths inputs from cmd_vel_mux/input/teleop_raw to cmd_vel_mux/input/teleop -->
<include file="$(find bv80bot_node)/launch/include/velocity_smoother.launch">
<arg name="input_cmd_vel_topic" value="$(arg input_cmd_vel_topic)" />
<arg name="feedback_cmd_vel_topic" value="$(arg feedback_cmd_vel_topic)" />
<arg name="output_cmd_vel_topic" value="$(arg output_cmd_vel_topic)" />
</include>
<!-- velocity commands multiplexer -->
<node pkg="nodelet" type="nodelet" name="cmd_vel_mux" args="load yocs_cmd_vel_mux/CmdVelMuxNodelet mobile_base_nodelet_manager">
<param name="yaml_cfg_file" value="$(find bv80bot_node)/param/mux.yaml"/>
<remap from="cmd_vel_mux/output" to="/robot_cmd_vel"/>
<remap from="cmd_vel_mux/input/navi" to="/cmd_vel"/>
<remap from="cmd_vel_mux/input/teleop" to="$(arg output_cmd_vel_topic)" />
</node>
<!-- create transform for laser (should be moved to the URDF) -->
<node name="laser_to_base" pkg="tf2_ros" type="static_transform_publisher" args="-0.090 0.0 0.037 0 0 0 1 base_link base_laser_link" />
<!-- launch the main base driver node -->
<node name="neato" pkg="neato_node" type="neato.py" output="screen">
<param name="port" value="/dev/ttyACM0" />
<remap from="cmd_vel" to="robot_cmd_vel" />
<remap from="/base_scan" to="/scan" />
</node>
<!-- publish teh URDF -->
<param name="robot_description" command="$(find xacro)/xacro.py $(find neato_node)/urdf/neato.urdf.xacro" />
<!-- publish the robot state transforms -->
<node name="robot_state_publisher" pkg="robot_state_publisher" type="robot_state_publisher" output="screen" >
<param name="use_gui" value="False"/>
</node>
</launch>
Listing 2. Terminal output from launching startup nodes.
roslaunch bv80bot_node bv80bot_njoy.launch &
rostopic list
/button
/cmd_vel
/cmd_vel_mux/active
/cmd_vel_mux/parameter_descriptions
/cmd_vel_mux/parameter_updates
/joint_states
/mobile_base_nodelet_manager/bond
/odom
/raw_cmd_vel
/robot_cmd_vel
/rosout
/rosout_agg
/scan
/sensor
/smoothed_cmd_vel
/teleop_velocity_smoother/parameter_descriptions
/teleop_velocity_smoother/parameter_updates
/tf
/tf_static
Article Comments