Halloween Props Using the Parallax Activity Board and BlocklyProp
In the “spirit” of Halloween, let’s have some fun with festive howling ghosts and laughing skulls. Here’s a few simple ideas for making active decorations to put in a window or use as table accents at a holiday party.
I used 3D printed characters which are all available on Thingiverse, but you could easily use store-bought items if you prefer not to print them.
The Components
I used a Parallax PABWX board for all three displays and programmed them using Parallax’s BlocklyProp language. It’s a graphic-based programming environment that’s easy and fun to use.
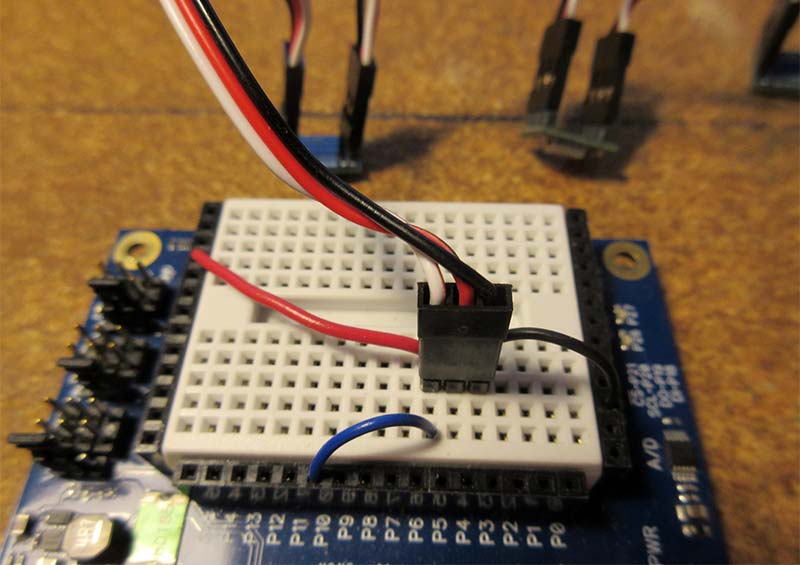
RGB LED circuit on PABWX breadboard.
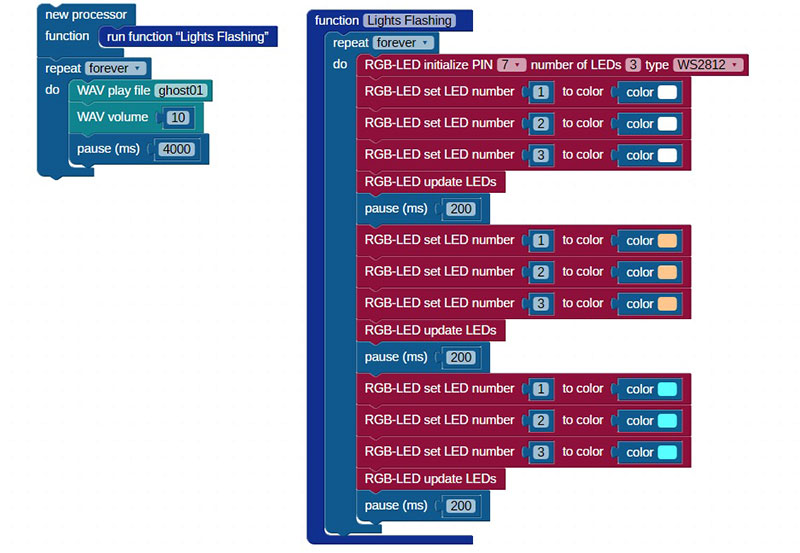
The reason I chose the Propeller microcontroller for these displays is because it has a multicore processor that can run several tasks at once. BlocklyProp makes it easy to use this capability in that processor.
It was important on the laughing skull so the jaw and the .wav file containing the laugh track both worked at the same time. The PABWX can also be programmed in Propeller C for those of you who prefer it.
A small .wav playing speaker is used with the SD card already installed on the PABWX to play the sounds. Parallax has a small speaker available that is ideal for this. I downloaded ghost noises and a creepy laugh from free .wav files available on the Internet. There’s an audio jack on the PABWX for the speaker.
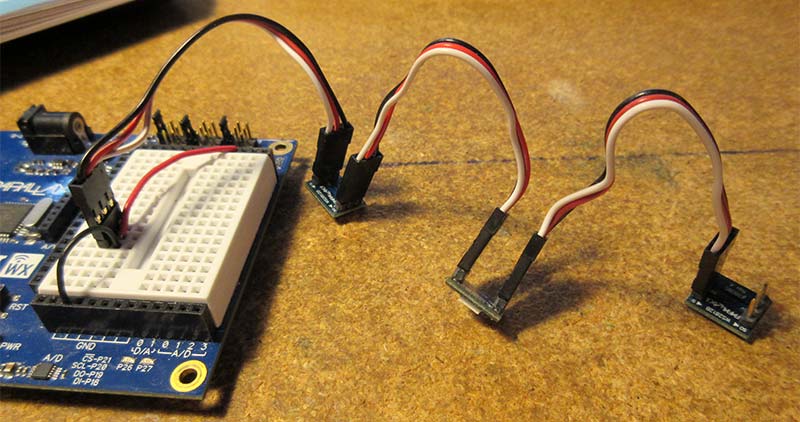
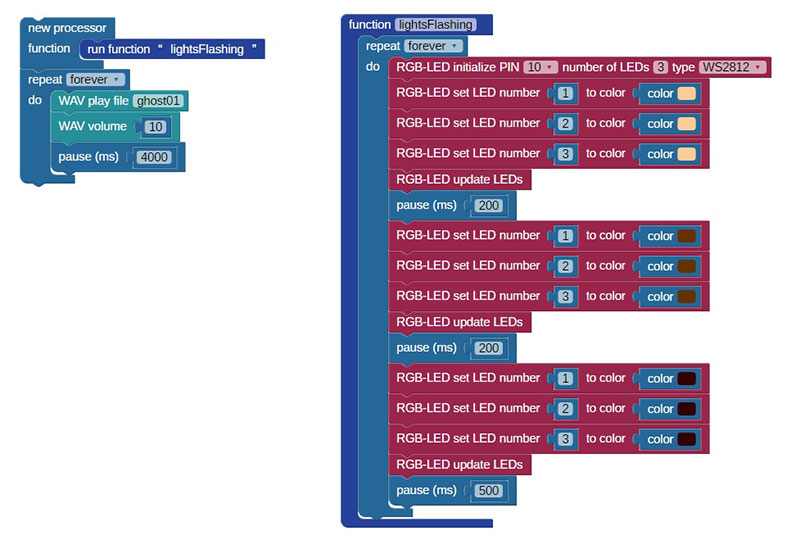
I used neo-pixel rings on the pumpkin and ghost and used WS2812 RGB LEDs on the skull. Parallax has an RGB LED mounted on a small circuit board which makes it simple to string together the LEDs and program each of them separately. Using this method, you can have whatever color patterns you want.
String of RGB LEDs for skull.
There are many examples and tutorials on the learn.parallax.com website for using the speaker and the RGB LEDs with BlocklyProp or Propeller C code.
I used spacers and screws to make platforms for the three displays. You can download the platform tops from Thingiverse or make your own out of wood, plastic, or heavy cardboard.
How to Assemble
Format an SD card for the .wav file. Download a free program for editing sound files called Audacity. You can get it from https://www.audacityteam.org. All the instructions for installing and using .wav files with the Propeller and BlocklyProp can be found at http://learn.parallax.com/search?search_api_views_fulltext=wav.
Mount the speaker and plug it into the sound jack on the board. I found a lot of free spooky noise sound files on the Internet to download with just a Google search.
To test your speaker, use the tutorial http://learn.parallax.com/support/reference/propeller-blocklyprop-block-reference/audio.
Decide how you want to light your character. I chose to do the ghost and pumpkin with the neo-pixel rings and the skull with the separate circuit board mounted RGB LEDs.

BlocklyProp code for skull display.
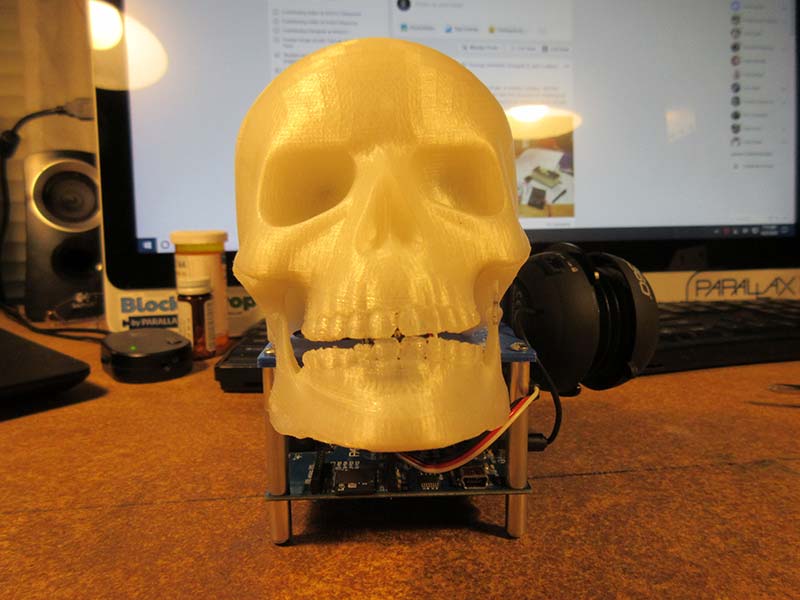
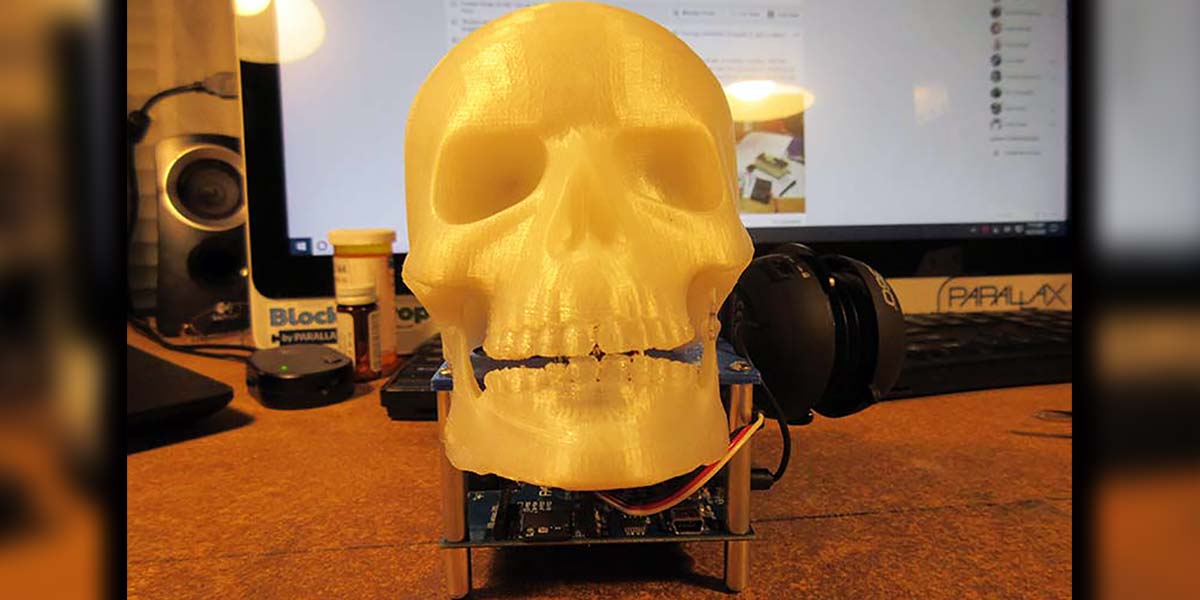
Front view of skull on platform
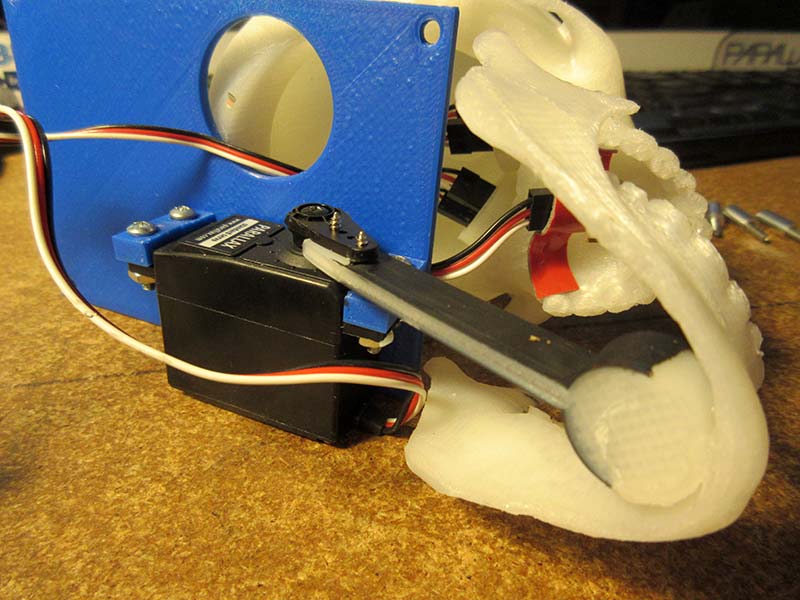
Bottom of skull showing servo mount and jaw.
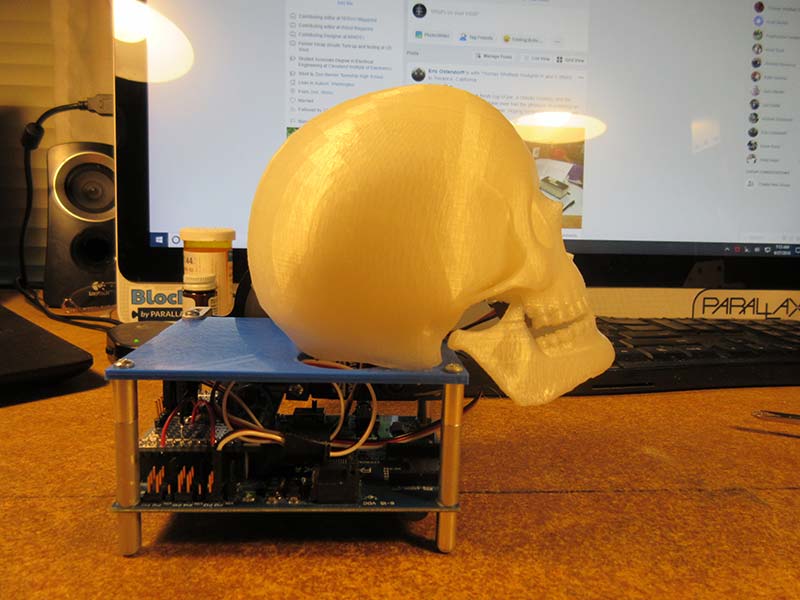
Side view of skull on platform.
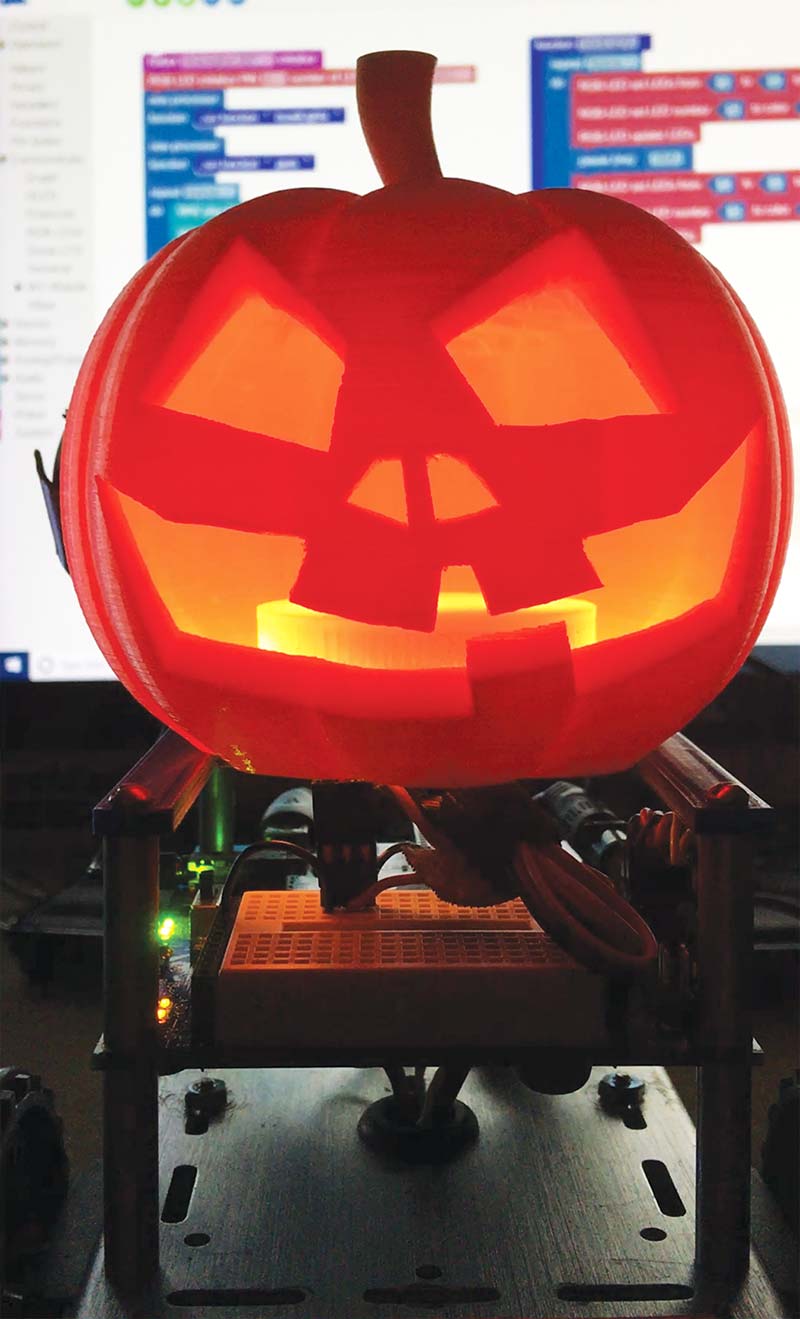
The jaw in the skull moves up and down, and I wanted piercing eyes for it. For the ghost and pumpkin, I just needed more of a mood lighting. I wanted the pumpkin to simulate a flame and the ghost to be a white flicker.
BlocklyProp code for pumpkin display.
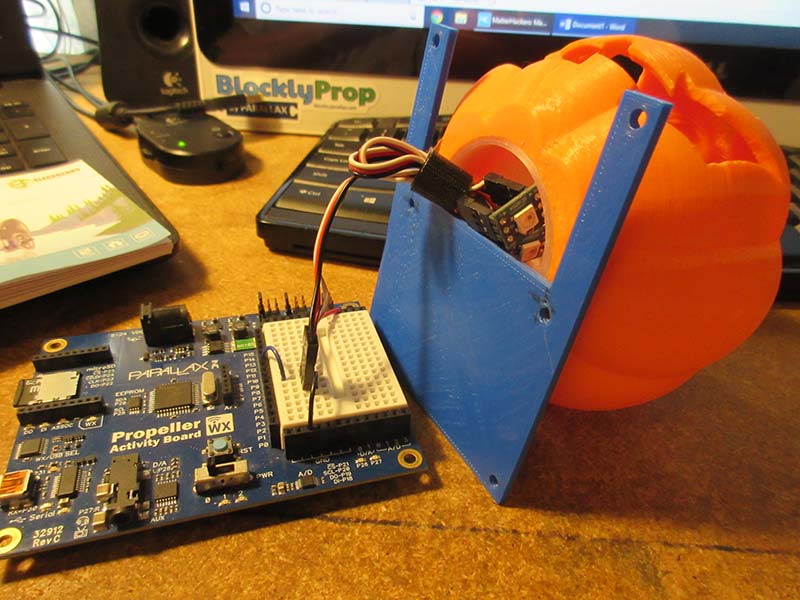
Putting RGB LEDs into the pumpkin.
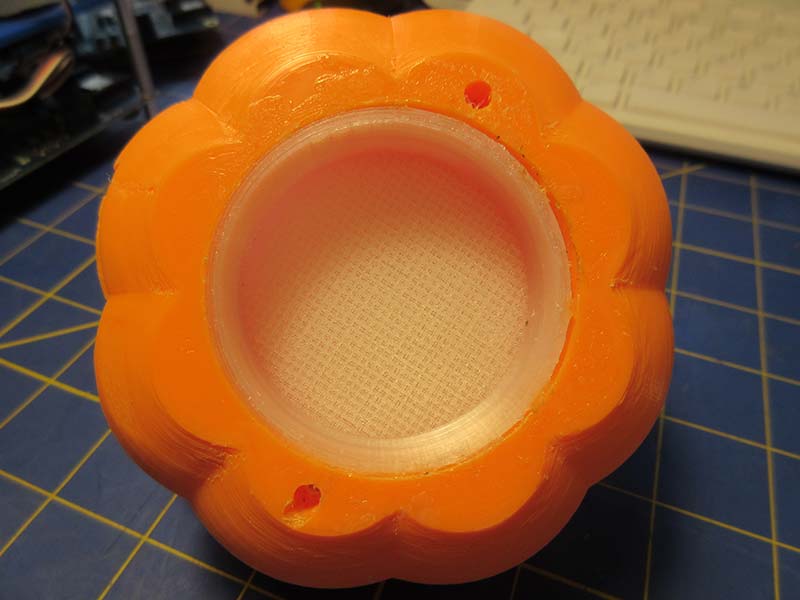
Bottom of pumpkin with light diffuser.
Pumpkin on its platform.
Using a mixture of white, yellow, and red simulated a flame; for the ghost, I used mostly white with a flicker of light blue to give it an ephemeral look.
BlocklyProp code for ghost display.
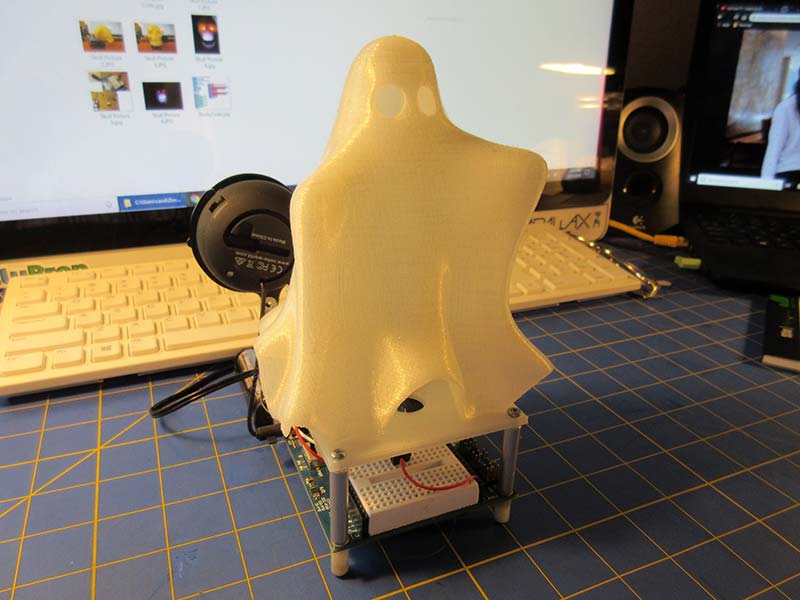
Ghost on its platform.
The sounds for the pumpkin and ghost are straightforward; just a howling noise for the ghost and a creepy wail for the pumpkin. For the skull, I did something a little different.
I separated the jaw from the skull and mounted the jaw on a servo. This way, the jaw could move in rhythm with the laughing noise and give it a creepier effect. Using the multicore Propeller lets the jaw, speaker, and eyes all move at the same time without a lot of extra programming from the user.
You can see videos of the completed projects on my YouTube channel at https://www.youtube.com/channel/UCfveeuCAWNnt_YoNEp4e3aw/videos.
Most of my friends say I made them too cutesy, but you should feel free to make yours much creepier! I SV
Article Comments