Building a Better Box
By Ryan Clingman View In Digital Edition
When I started my journey into building combat robots, I followed a guide published in the Combat Zone section in one of the 2010 issues of SERVO to build an easy test box out of a steamer trunk.
This test box has served me faithfully for a few years now. However, it could only be used for basic drive testing or static weapon testing. There just wasn’t enough room to really drive around with a weapon running.
As my experience as a builder grew, so did the destructive power of my creations, until the little box couldn’t be relied on to contain them without significant modification.
It was time to build a bigger, better box. I had four goals I wanted to meet with my new box design:
- I wanted it to be big enough to drive around.
- I wanted it to be small enough to be easily stored without disassembly.
- I wanted it to be able to contain my bots if they smack the wall with the weapon running at full speed.
- I wanted it to be dead simple to source and build.
The materials used include (https://pastebin.com/ZRVeNz9K):
- 4x 1”x6”x8’ lumber
- 2x 24”x48” MDF sheets
- 1x 48”x48”x1/4” polycarbonate sheet
- 8x 6”x24” sheet metal strips
- 8x corner brackets
- 2x utility hinges
- 2x latches
- 1x handle
- 120x #8x3/4” screws
With the exception of the polycarbonate sheet, all the supplies could be obtained with a trip to my local hardware store.
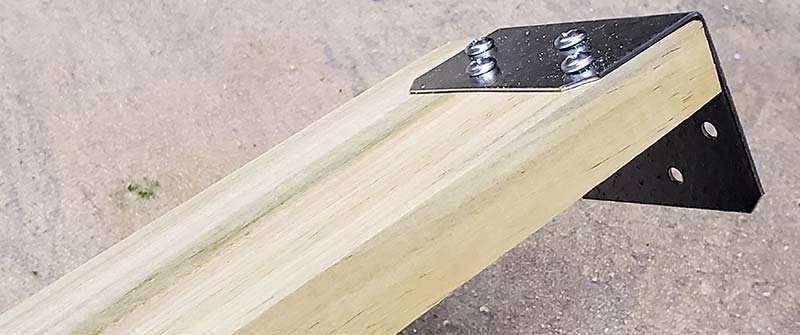
Corner bracket installed on the end of a cut board.
The entire set of materials costs less than $300, with 70% of that cost being for the polycarbonate and metal sheets to contain the power of the spinning weapons.
Construction
- Cut the boards into eight 47.25” lengths.
- Pre-drill and screw the corner brackets onto one end of each board.
- Pre-drill and screw four of the boards together to make two 4’ square boxes.
- Lay the polycarbonate on top of one of the boxes, then pre-drill and screw it to the top of the box, with the screws 12” apart at most.
- Lay the two sheets of MDF on top of the other box (soon to be the bottom), and drill and screw them to the box like the polycarbonate. Then, flip the box over.
- Drill two holes near each end of all eight sheet metal strips; close enough to be screwed to one of the bottom boards.
- Pre-drill and screw all eight sheet metal strips to the inside of the MDF-floored box, with two strips overlapped to fill each side.
- Lay the top box on top of the bottom box.
- Mount the hinges on the back side where the two boxes meet, 12” from the ends.
- Mount the latches on the front side where the two boxes meet, 12” from the ends.
- Mount the handle in the middle of the front side of the box.
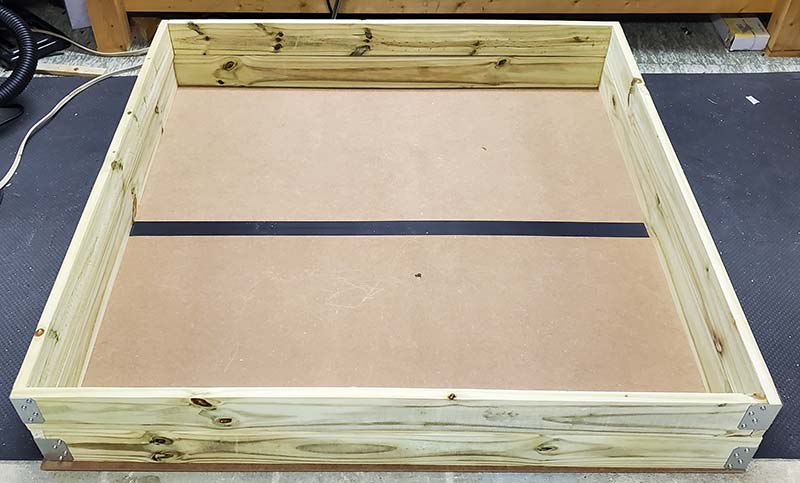
Boards assembled to form a box.
Congratulations! You’ve created a simple and sturdy test box that only required cutting a few boards to length and screwing it all together!
The steel reinforced corners and inner frame combined with the 1/4” polycarbonate should make this test box strong enough to survive rigorous testing up to the Beetleweight class.
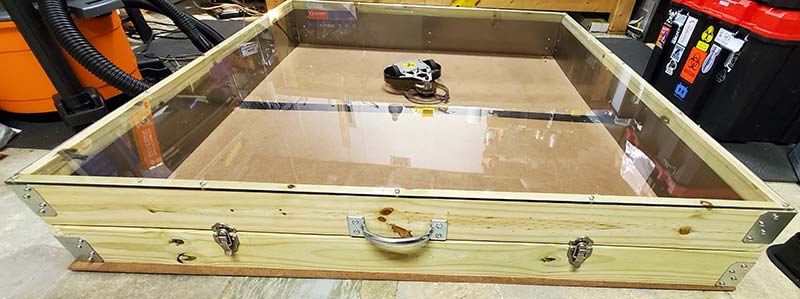
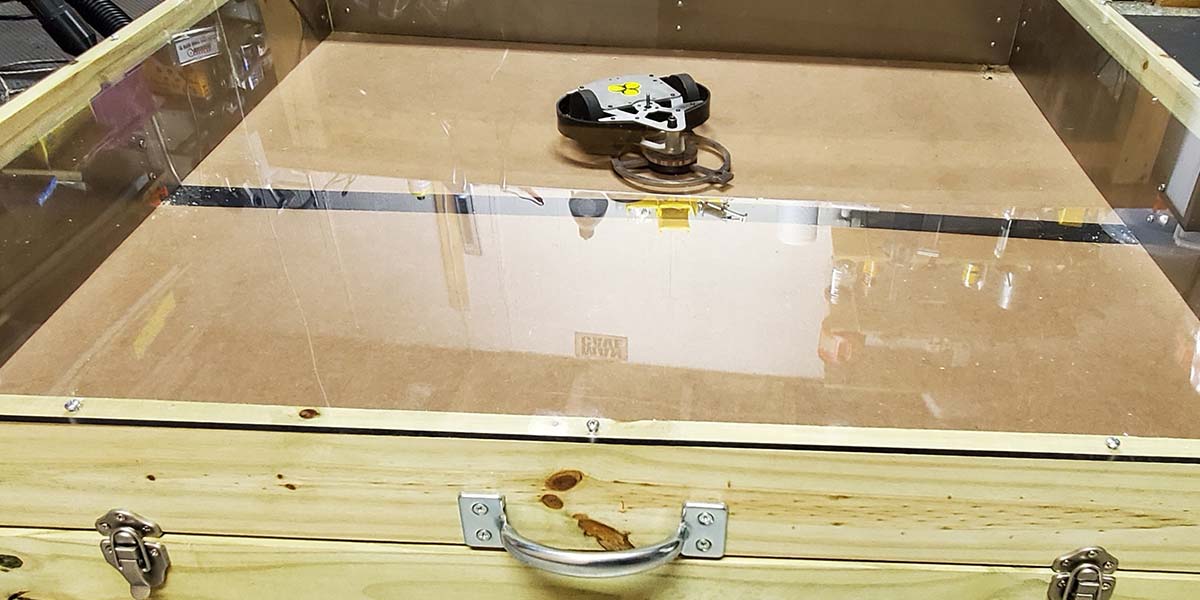
Completed steel-reinforced test box.
The inside is over 7” tall, which should accommodate the majority of Beetleweight designs, and the floor space is enough that it could even be used as an arena for 150g bots.
Happy testing! SV
Article Comments