BUILD REPORT: Grater Good
By Matthew Smith View In Digital Edition
Although I’m something of a veteran builder now, assisting new prospective builders with their machines and having a couple of trophies on my desk, I think it’d be best to start my roboteering story from the beginning.
I’ve got no higher education, fancy machine shop, or specialized knowledge that gives me an edge when building robots; just an active mind and a distinct lack of care for how badly some of my ideas turn out in the box.
Although I was a fan of BattleBots™ as a kid, it took the reboot (and the adult privilege of disposable income) for me to really get involved and build something to throw into a life-or-death contest between two home-built mechanical gladiators.
For a first robot, it’s always good to start simple. Every builder probably was given that advice at some point. So, naturally, I went with the simplest design you can do in robot combat: a two-wheeled wedge.
Rather than trying to design an elegant chassis, I went out to Safeway and bought an ordinary cheese grater for around twenty bucks. I figured thin steel wouldn’t shatter like plastics might, and that it already was full of speed holes.
Having built Sumo bots in my youth, the old weight-loss answer of “just drill holes in it” was well-ingrained in my head as an easy answer to get strong but heavy materials to meet the weight limit.
Driving Grater Good was a pair of Solarbotics GM7 gear motors. These are very low cost/high gear reduction motors that are designed to provide high torque at very low voltages. For a robot whose only means of attacking was pushing, it seemed like a good choice.
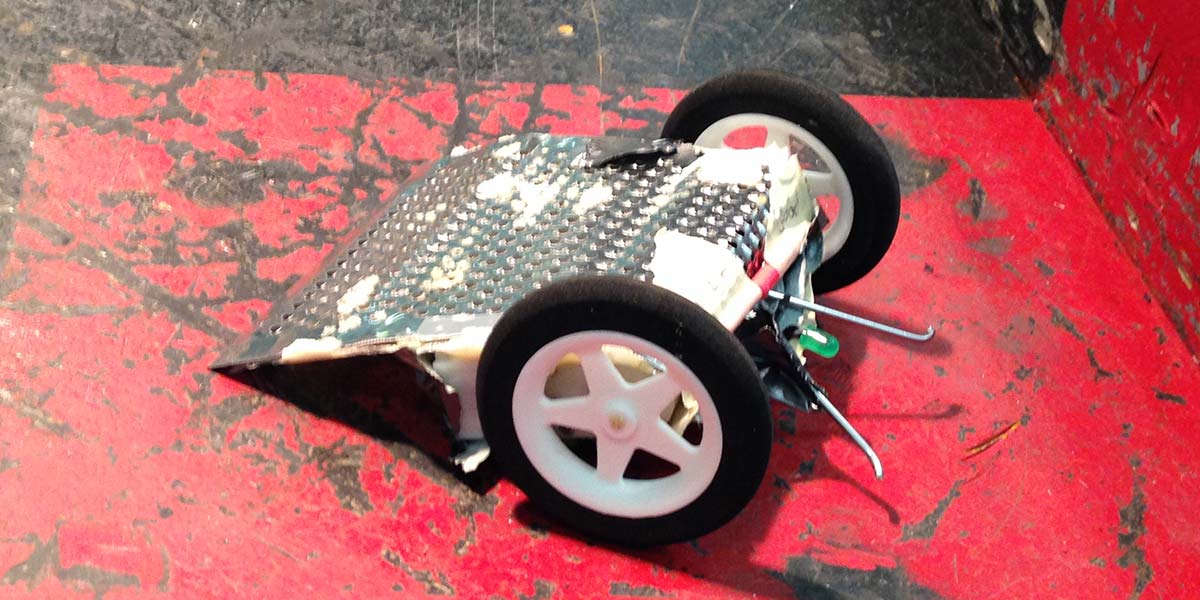
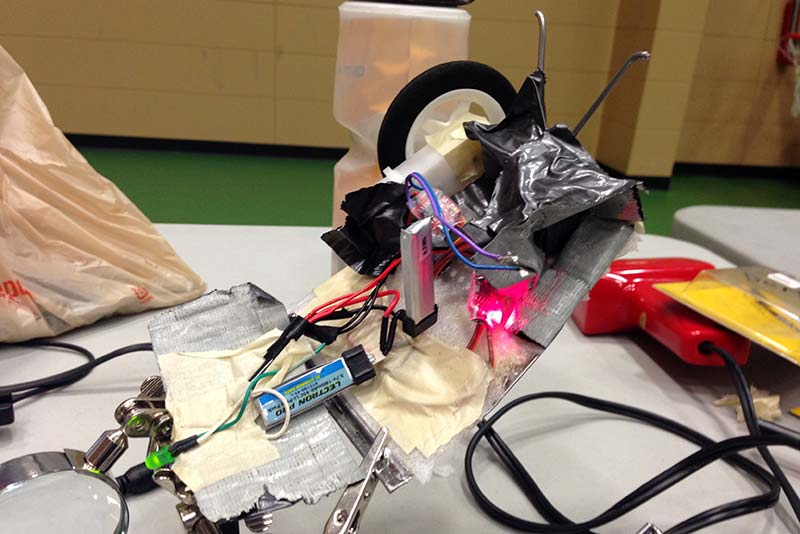
Grater Good, before its first fight.
High reduction means low speed, so I went with relatively large-diameter foam aircraft wheels. As they were designed to roll freely, these wheels had to be glued to the motor shafts. Grater Good’s front plate was simply cut from one side of the cheese grater, with the rear segment being rolled around the end of the motors snugly.
The idea was to keep the vulnerable wheels and motors tucked far back to the rear of the robot, so that frontal hits would have less chance to impact them.
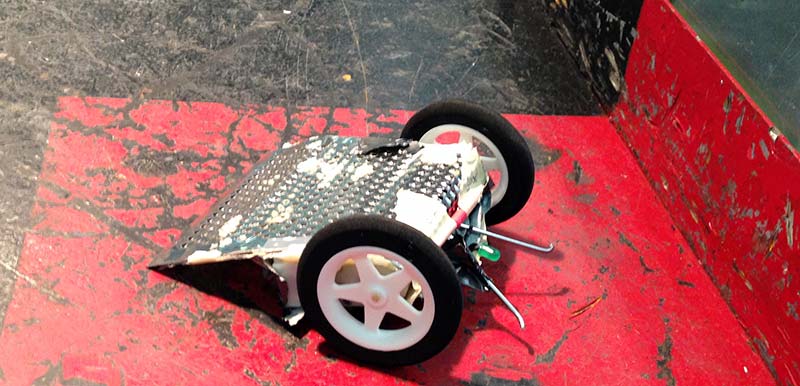
Close-up of the rear of Grater Good.
Lacking a proper bottom plate to keep all the loose wiring attached, I turned to the tried and true solution of the amateur repairman: duct tape. It’s an extremely ugly solution, but it held up until the very end of the event.
Care had to be taken in taping to prevent this already slow robot from dragging its center on the ground, thanks to the long bodies of the motors which made for poor ground clearance underneath.
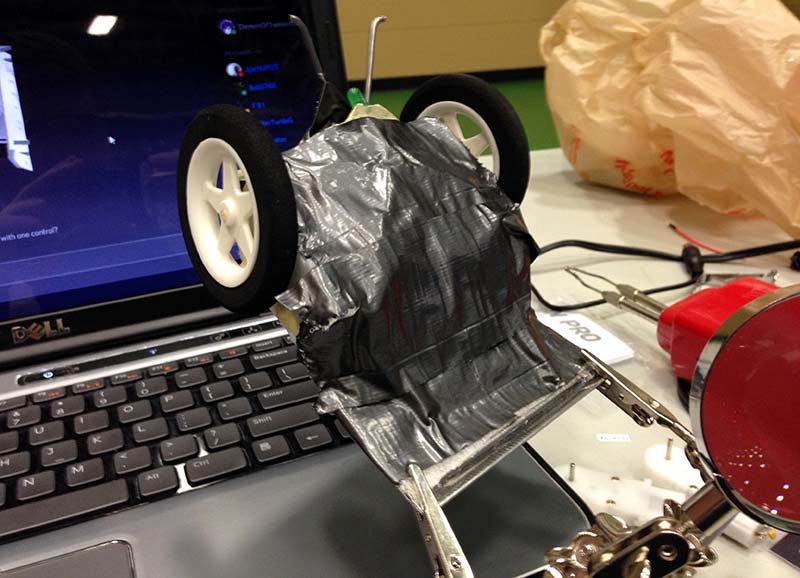
Duct tape is the best armor!
I settled on Gorilla glue as the primary means of keeping the machine together, figuring it would make for a strong bond while not adding as much extra weight as screws or bolts. Extra protection for the internals was provided in the form of a thin layer of packing foam layered underneath the metal cheese grater shell. Everything was secured with glue to this foam rather than the frame as a shock-absorbing measure.
Grater Good made its debut at Kilobots 36. It was — in comparison to most Fairies at this event — an inelegant, sloppy little machine. Although Grater Good was durable in combat suffering limited damage from multiple spinners, there were more than a few flaws with its construction.
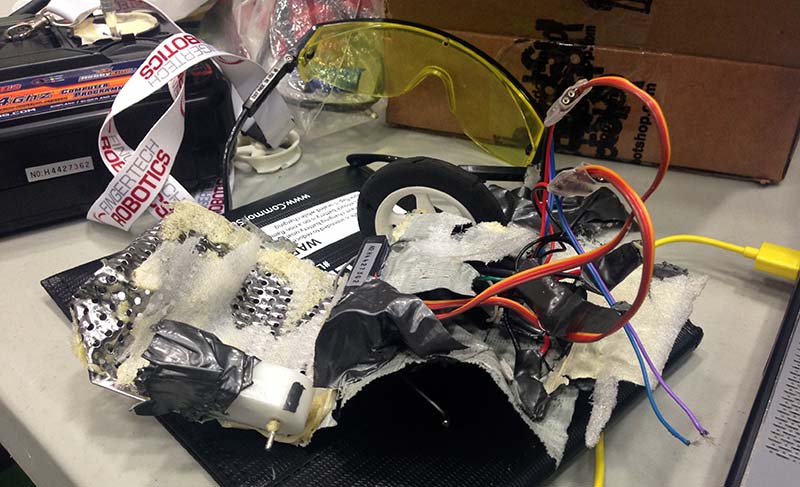
The very old GM7s I used both broke during the event (although their replacements were fine), meaning the wheels (glued onto the gearbox shafts) had to be taken off and re-glued, as did the motors to the chassis. In these circumstances, the 24 hour cure time of Gorilla glue proved unacceptable in the frantic 20 minute repair times allotted, meaning Grater Good had to fight several fights with motors secured only via tape.
The lesson here is clear: Design with repairs in mind from the outset.
Repairing Grater Good – what a pain!
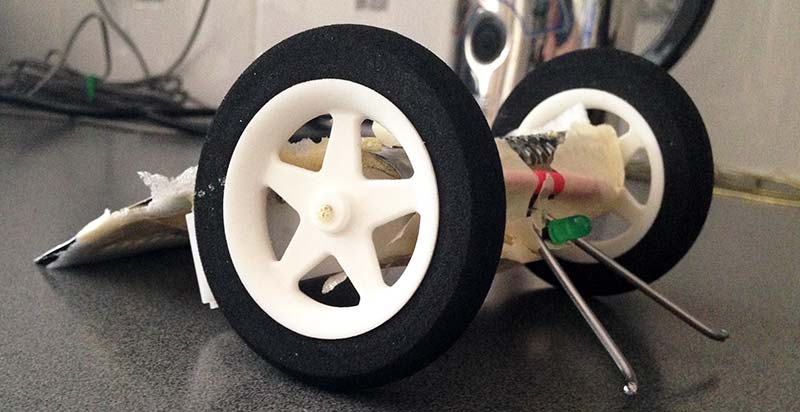
The foam aircraft wheels also had a very thin contact point, and up against robots running thick wheels, Grater Good had very little traction and struggled to push its opponents around — even against opponents with much less emphasis on drive power.
The low speed of the robot (thanks to its high gear reduction) also meant it struggled to keep pace with some of its faster-moving opponents.
In the end, Grater Good ended the event with two wins and two losses, and was entered into the Beetleweight rumble to ensure that it would get completely destroyed and require a full rebuild. Needless to say, Scary Thing did a pretty good job of that.
Although it hadn’t been a total failure, I felt that a ground-up redesign would result in a much better robot for the next event (because, if you hadn’t guessed, I was absolutely hooked). Every match — win or lose — was a learning experience.
Turns out, Beetleweights hurt!
Against fellow wedge Chicken Little, it was the importance of having the lowest wedge. Versus shell spinner Cracker Jack, the inadequacies of a 24 hour set time for replacing motors nearly knocked me out of the tournament, despite winning the match.
Getting knocked out by Troubleshooter showed that strong armor alone isn’t enough to fight spinners. You need enough speed to keep that armor where it needs to be.
Most importantly, my loss to Pumpkin Queen showed that making sure everything works as it should after a repair is essential, rather than just assuming that everything is fixed because you replaced one part that broke.
Grater Good might have been an ugly duckling, but every lesson learned and every improvement made gets me one step closer to building a swan. SV
Article Comments